
While I find it hard to imagine a morning without coffee, I can readily imagine a few scenarios where you find yourself in a situation where you have coffee but no obvious way to brew it. Maybe your coffee maker is kaput. Maybe you have no grinder or ran out of filters. What can you do?!! How can you rescue yourself from the calamity of no coffee?
Well, never fear. People have been brewing coffee for centuries, long before anyone invented a household appliance to do it for them. Almost all brewing methods are really just soaking coffee in hot water and pouring off the liquid; filtering out the grounds just makes it better. Even if you have never made coffee before, if you can boil water, you can prepare a tolerable-tasting jolt of caffeine in minutes with items found in most kitchens. Additionally, if you are an experienced coffee drinker and are willing to put forth a little effort, you can actually brew a decent cup ‘o joe. Here are a bunch of ways to brew coffee that would make MacGyver proud.
Traditional Pot
Degree of Difficulty: EASY
For centuries, despite the Legend of Kaldi the Goatherd, the Oromo tribes of what would become Abyssinia and, later, Ethiopia, knew of coffee. However, they didn’t drink it! Instead, they would combine the cherries and seeds with animal fat, roll it into balls, and eat it as a kind of energy bar. It was the Sufi monks of Arabia who invented DRINKING coffee, and to them, we are eternally grateful. Here’s an ultra-easy method based on theirs.
What You Need
- Heat Source, preferably a stovetop but a campfire will do
- Saucepan
- Water
- Ground Coffee (OH NO! It’s whole bean!)
- Something to stir with, like a chopstick or spoon
Directions
- Figure out how much water and coffee you need. Two tablespoons of ground coffee per 6 oz cup of water. Mugs are larger, so take that into account when you are adding coffee.
For details on the correct coffee to water ratio check out these posts:
The Proper Coffee to Water Ratio (American-style)
The Proper Coffee to Water Ratio (Metric-style) - Bring the water to a boil and then reduce the heat so that it is no longer boiling, but still quite hot. If you have a meat thermometer, you are looking for 195º – 205ºF. Remember this old time brewing tip: Coffee boiled is coffee spoiled!
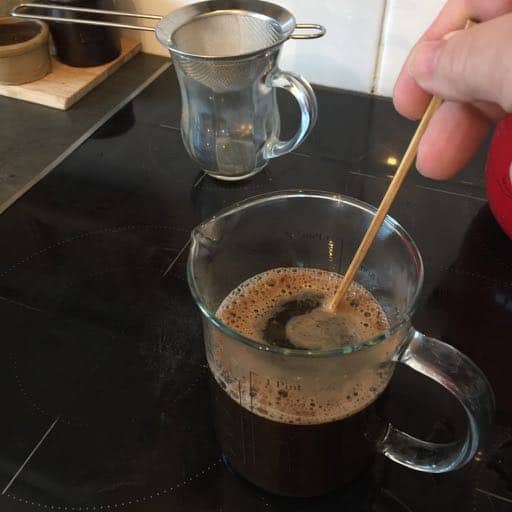
- Add the coffee and stir.
- Let it sit for 4 – 6 minutes. During this time, the coffee will sink to the bottom.
- Carefully pour off or ladle out the coffee so the grounds remain behind. Enjoy!
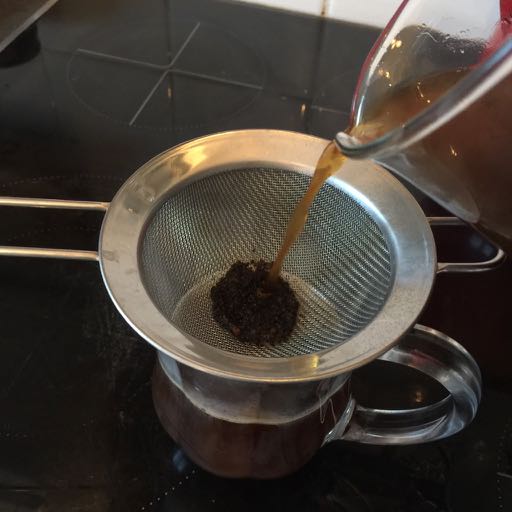
BONUS MOVE: Alternatively, you can pour it through a coffee filter or clean cloth to separate out the grounds.
This is similar to but way better than Cowboy coffee. Because it is boiled, Cowboy coffee is often bitter.
French Press Style
Degree of Difficulty: REALLY EASY
If you know how to do a French press the right way, this “Faux French press” will be a snap for you.
What You Need
- Something to boil water in
- Water
- Ground coffee
- Two cups, mugs, or mason jars (or a combination)
Directions
- Once again, figure out how much water and coffee you need. Two tablespoons of ground coffee per 6 oz cup of water. Mugs are larger, so take that into account when you are adding coffee.
For details on the correct coffee to water ratio check out these posts:
The Proper Coffee to Water Ratio (American-style)
The Proper Coffee to Water Ratio (Metric-style) - Bring the water to a boil and then turn off the heat so that it is no longer boiling, but still quite hot. As I said earlier, if you have access to a meat thermometer, you can check the temperature. You are looking for 195º – 205ºF.
- Put your ground coffee into the vessel you are going to brew in. Usually, this will be the one that is the largest. Add just enough water to cover the grounds and stir to thoroughly wet them.

- Wait one minute.
- Add the rest of your brewing water and stir.
- Let your mixture sit for 3 – 5 minutes. During this time, the coffee will sink to the bottom.
- Pour the brew through a mesh strainer to separate out the grounds and keep the French press flair.
Cold Brew Style
Degree of Dificulty: REALLY EASY
I can’t believe I almost forgot the cold brew method! Just put your ground coffee in cold water overnight (8 – 12 hours) and let it steep. In the morning, pour off the resulting brew. Take care to avoid the grounds and warm the coffee in a saucepan on the stove or just pop your mug into the microwave. Voilà! Café!
Pour Over Style
Degree of Difficulty: MODERATE
This technique is a variation on those trendy pour overs that are so popular at the hipster cafes. It requires a few more pieces-parts to assemble, but the end result could actually be pretty good.
What You Need
- Something to boil water in
- Water
- Ground coffee
- Funnel (Hmm… no… don’t see one of those…)
- Coffee filter (A what? I don’t have a coffee filter either!)
- Cup, mug, or mason jar
Directions
- Place the funnel so that it rests in the mouth of your cup, mug, or mason jar. Line it with a paper coffee filter or substitute.
- Just like above, you must determine how much water and coffee you need. Two tablespoons of ground coffee per 6 oz cup of water. Mugs are larger, so take that into account when you are figuring the coffee.
For details on the correct coffee to water ratio check out these posts:
The Proper Coffee to Water Ratio (American-style)
The Proper Coffee to Water Ratio (Metric-style) - Put the ground coffee into your filter set up.
- Bring the water to a boil and then turn off the heat. If you have a meat thermometer, you are looking for 195º – 205ºF. Remember this old-time brewing tip: Coffee boiled is coffee spoiled!
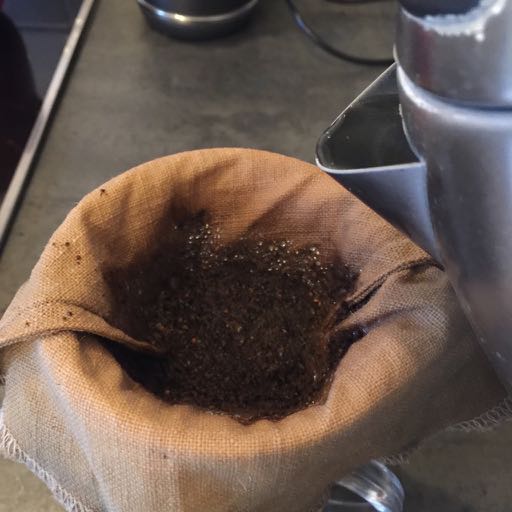
- Pour enough water on the coffee to wet the grounds. Gradually add more hot water as it filters through to the container below. Don’t rush this step if you are using a cloth filter. If you go too fast you will not get a good extraction and will end up with weak coffee. When you have poured the water that corresponds to the amount of coffee you have in your “pour over,” you are ready to enjoy your coffee.
As Easy as Making Tea
Degree of Difficulty: EASY TO MODERATE
If you have ever made a cup of tea, this will be a breeze. All you are doing is steeping your coffee until it is your desired strength, 4 – 6 minutes.
What You Need
- Something to boil water in
- Water
- One of the following:
- Coffee pad like they use in those fancy machines, or
- Tea bag (without tea) or
- Coffee filter and ground coffee
- Uncoated string
- Cup, mug, or mason jar
Directions
- As above, boil your water and get it to the magic temperature of 195º – 205ºF.
- Take the appropriate amount of coffee (remember: 2 tablespoons per 6 oz of water) and put it into the filter or empty tea bag. Cinch it up and tie it off with the string. Voilà! Coffee bag! If you are using one of those Senseo coffee pads, simply plop it into your cup, fill it with water, and wait those 4 – 6 minutes.
- Remove the “coffee bag” and enjoy your cup.
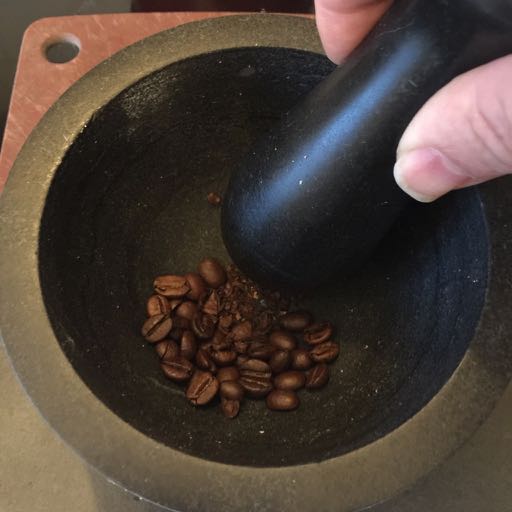
EMERGENCY COFFEE GRINDING
Shoot! Whole bean coffee with no grinder? You definitely want to do something to break up the beans; more pieces means more surface area and more surface area means more flavor extraction. Let’s see what we can find.
A blender can do a good job turning whole beans into something you can work with. Can you access a food processor or chopper? Maybe an empty pepper mill? In a pinch, put the beans into a bag of some sort and take a rolling pin to it. Or you can go really old school and use a mortar and pestle. It will take a little time, but it is the way Beethoven did it. It’s also sure to be easier than the time I used two lava rocks to crush the whole bean Kona coffee I bought when we first moved to our farm on The Big Island of Hawaii.
EMERGENCY COFFEE FILTER
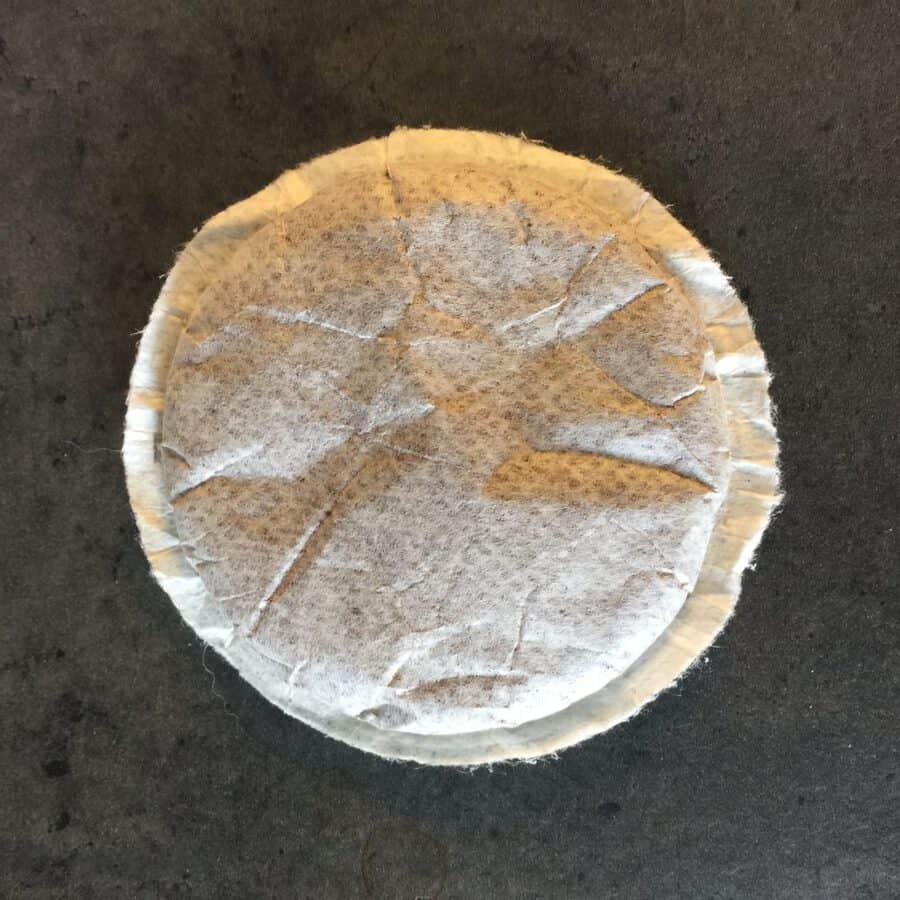
Let’s just remember that these things are not always as dark as they first might seem. If you find that you used your last coffee filter on the last pot, you might have luck using the last filter one more time. Dump the grounds and GENTLY rinse the filter. Wet paper is weaker than dry, so be careful. It might be a negative in the flavor column, but it probably won’t kill you and is a better choice than a paper towel or blotter paper.
FUN FACT:
Melitta Benz used blotter paper from her son’s desk when she invented the pour over.
If you do decide to use a paper towel, be careful. While it will allow the brewed coffee through, the paper will be weak and in danger of tearing, which will let the grounds through. Consider yourself warned.
Let us also consider a clean cloth, like a handkerchief. The brew will flow through and the grounds will not. DO NOT USE toilet paper or a Kleenex-like tissue. Not only are they often perfumed, they are also designed to disintegrate when in contact with water which is, obviously, not ideal for this sort of application.
EMERGENCY FUNNEL
This doesn’t have to be difficult. Just keep in mind what you are trying to accomplish: Holding your coffee grounds and filter and directing your brewed coffee into a receptacle. And it doesn’t have to last for multiple uses, so permanence is not an issue, either. I have made funnels out of the cardboard from a cereal box, glossy side in. I have made funnels out of aluminum foil. Get creative! How about cutting the bottom out of a plastic water bottle and flipping it over?
Conclusion
I hope I have shown you that coffee brewing does not require any special contraptions or appliances. The key things to remember are your water to coffee ratio, your water temperature, and proper extraction time. None of these techniques are meant to be your go to method, but in a pinch, when you absolutely want / need a cup of coffee, one of them will get you through.
If you like coffee and fun, join us in our Procaffeination Facebook Group. To be among the first to find out when the book is ready (and probably get a discount, too) sign up for the email list. No spam… promise.